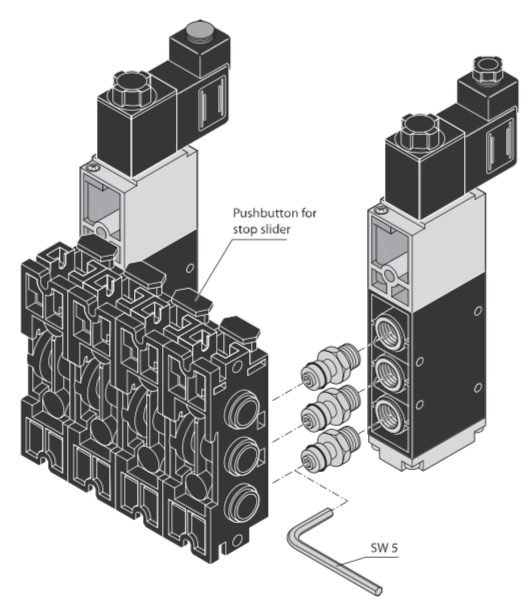
Left End Plate
Left end plate with threaded connection (linking set is part of the subplate shipment).
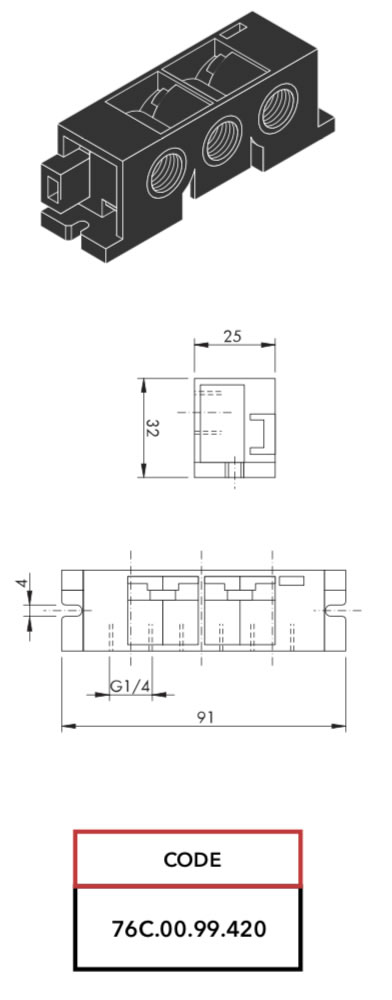
Central Plate
This is the standard valve mounting plate. Single valves are mounted to the top
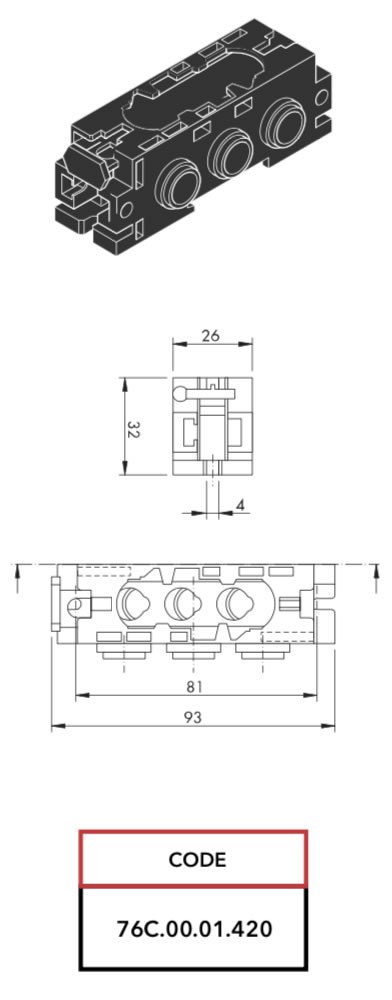
Right End Plate
Right end plate (linking set is part of the subplate shipment).
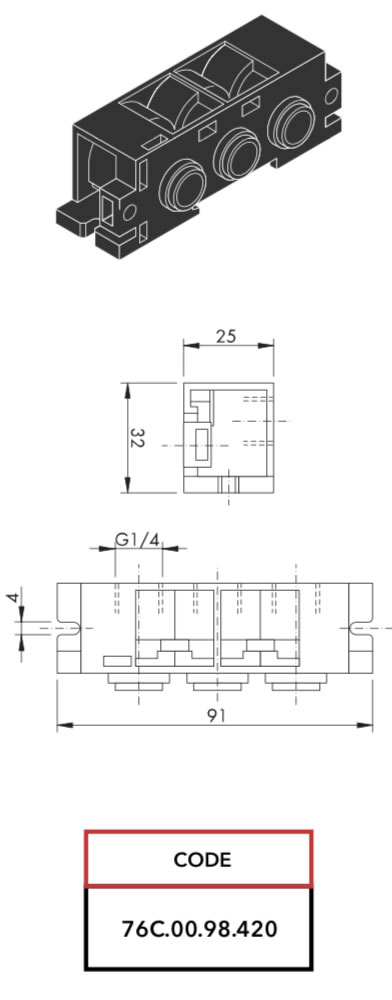
Blocking Plate for twin pressure
Accepts one valve. Used in an assembly that has left hand and right hand air supplies at different pressures.
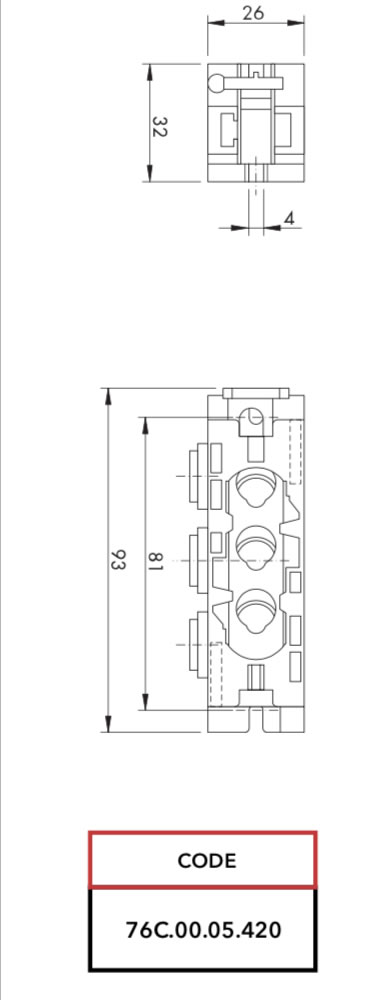
SUBPLATES MOUNTING INSTRUCTION
STEP 1
The plastic bodied 5/2 and 5/3 valves can be plate assembled into valve islands. The smallest unit comprises one basic sub plate for one valve, plus one input plate and one end plate. Plates are assembled using two hex cap screws through lateral flanges. Ports are sealed by integral O-rings. Additional valves each with a standard sub plate can be added or retrofitted to an assembly. Use a blocking module/subplate to enable two different air feeds.
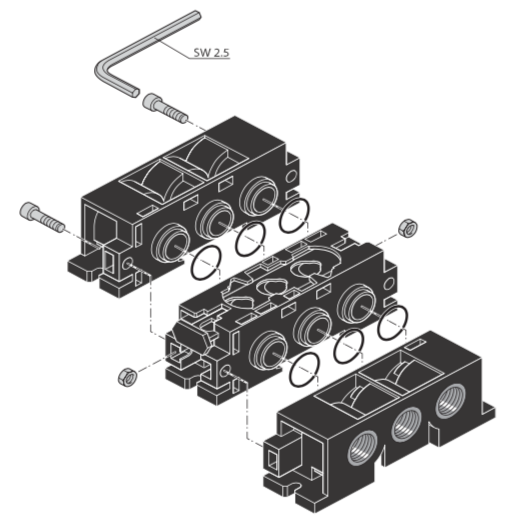
STEP 2
Mounting of the subplate on a flat, even surface
Mounting on a DIN rail (35 mm wide H type rail)
Hang fully mounted subplate on the upper extension of the rail and then engage its claws in the lower extension by applyng a slight pressure. To remove the subplate from the rail, withdraw the claws one after the other against the spring by means of a screw driver and slightly tilt the whole block on the rail at the same time.
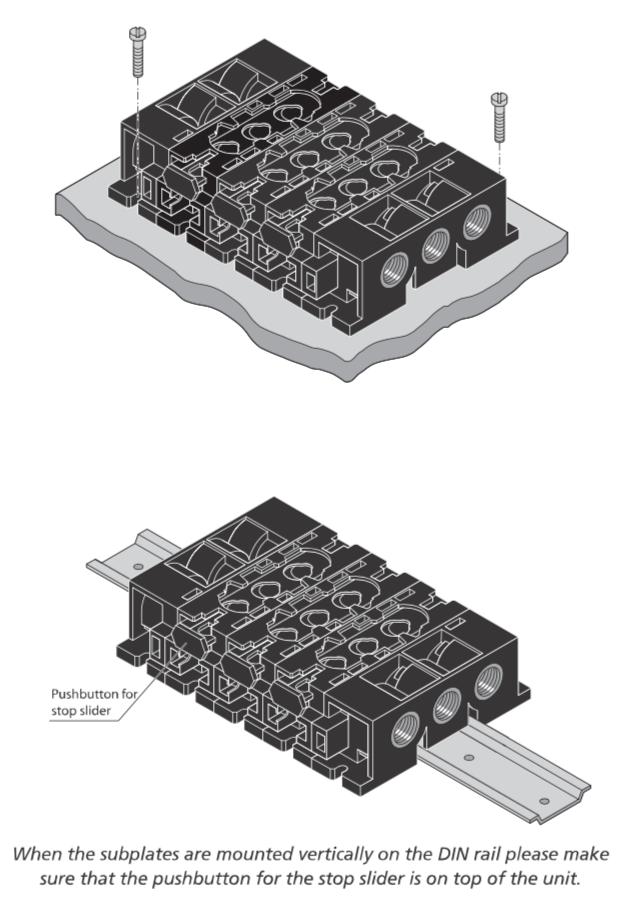
STEP 3
Insert the connectors to the valve
Start by screwing the connectors (linking elements) into the 3 ports of the valve. Then use a 5 mm Hex wrench (Allen Key) to tighten and seal.
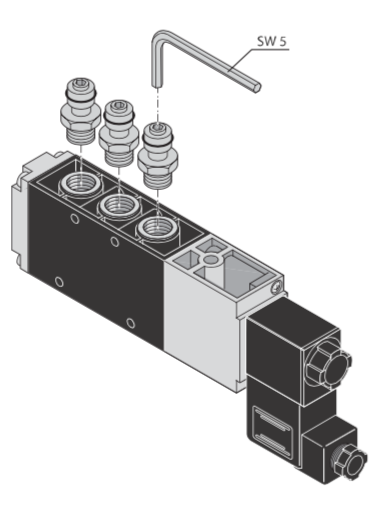
STEP 4
Mount the valve on the subplate
Once the connectors have been inserted and secured as in step 3, a valve can be mounted on it’s subplate. Simply depress the valve locking button on the subplate and press the valve into position. Release the locking button.